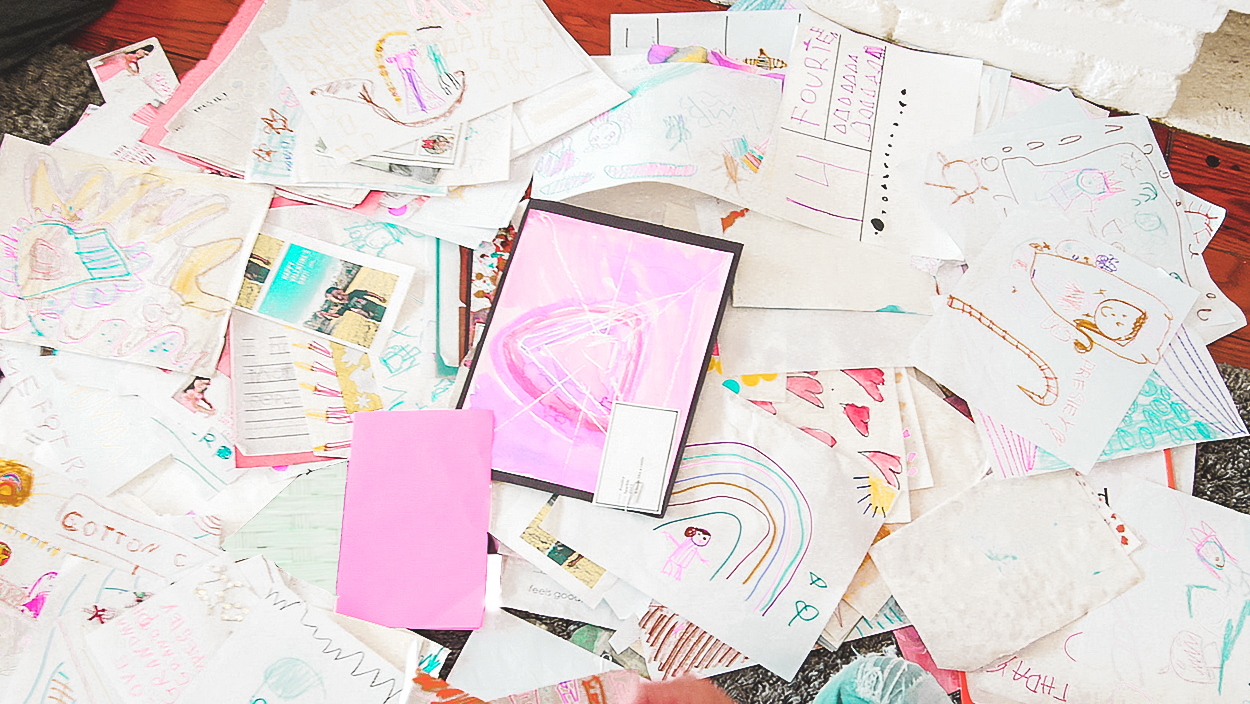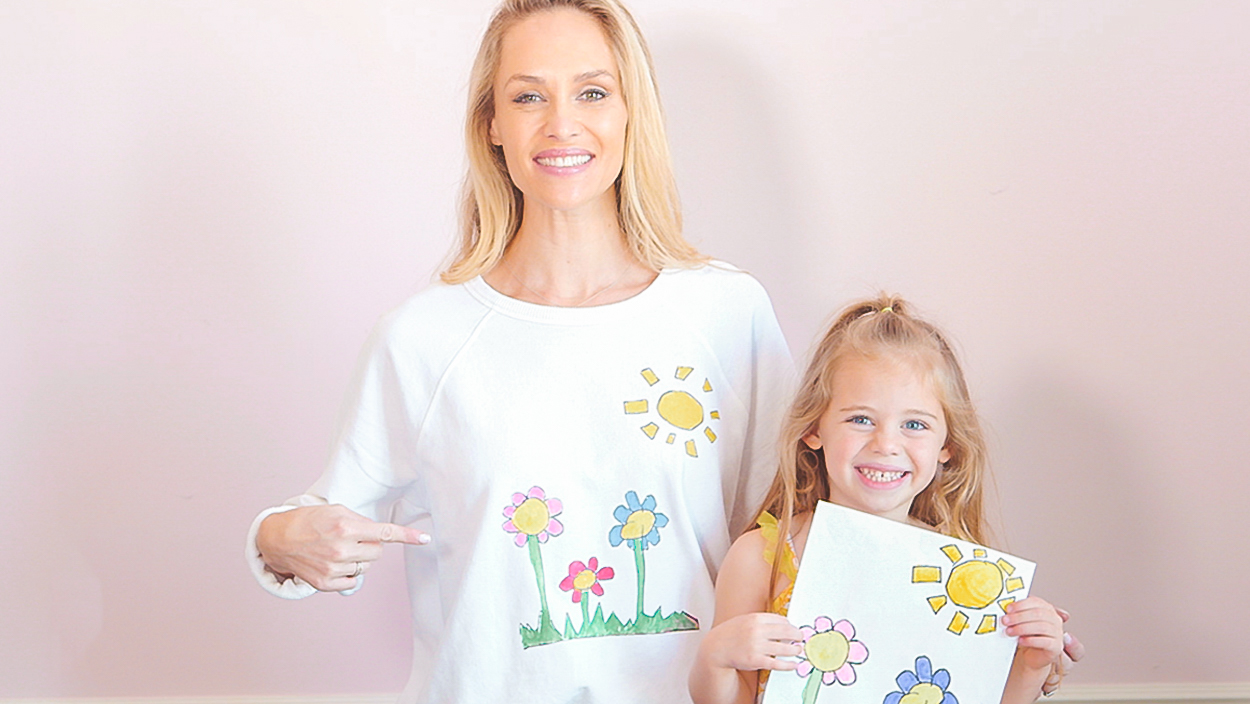
Let’s face it, kids come home with a lot of artwork. We’re a fan of archiving our some of our favorite pieces, and we’ll show you how to wear your kids’ artwork. Who knew their masterpieces could make such stunning statement pieces!
SUPPLIES
- Plastic wrap
- Parchment paper
- Kids’ artwork
- Desired piece of clothing
- Iron
Using Plastic Wrap
INSTRUCTIONS
- The first thing you’re going to do is take your artwork and make sure it fits wherever you’re going to place it without covering any seams.
- Grab your plastic wrap and place your artwork between to large pieces of wrap. Flatten out any wrinkles, cut the excess plastic wrap around the artwork and top it off with a piece of parchment paper. Almost time to start ironing!
- I lay everything out on a cutting board covered with a pillowcase. The metal in an ironing board can damage the artwork. Trust me, I learned the hard way!
- Iron over the parchment paper for at least two minutes sometimes longer depending on the size of your artwork. You’ll know it’s ready when you lift the corners up and your plastic wrap fully adheres to your clothing.
NOTE: For this transfer method, it’s best to use clothing that you don’t wash often so I’m using an old jean jacket.
Using T-Shirt Transfer Paper
INSTRUCTIONS
- Scan the artwork into your computer and print it out on the transfer paper.
- Next, cut out the image, remove the backing and arrange onto the shirt.
- Lay the protective sheet over the picture that comes with the paper and then iron on for about two minutes.