
Please don’t judge the ‘before’ shots! I’ve never really organized the kids’ bathroom, but with a little help from our friend Kathryn, it’s actually a joy to open the drawers or get supplies from under the sink! (It’s the little things…)
WHAT YOU’LL NEED
1. Assess your space
- As you can probably tell this has never been organized. We have SO many headbands. My mom cannot resist a headband on sale, so I blame her. 😉
2. Clear everything
- Clear everything out and start to make piles of everything so we know what we have. This took me a little longer than it should have. We eventually ended up with these beautiful cleared drawers.
3. Pile it up
- Pile your items into “keep,” “donate,” or “trash.” Presley doesn’t like spiky headbands so we donated all of those. A lot of things were broken and ended up finding a few things of my own.
4. Choose containers
- Kathryn is so good at this. We got some clear ones. They slid around a bunch so we added glue dots to make them nice and secure.
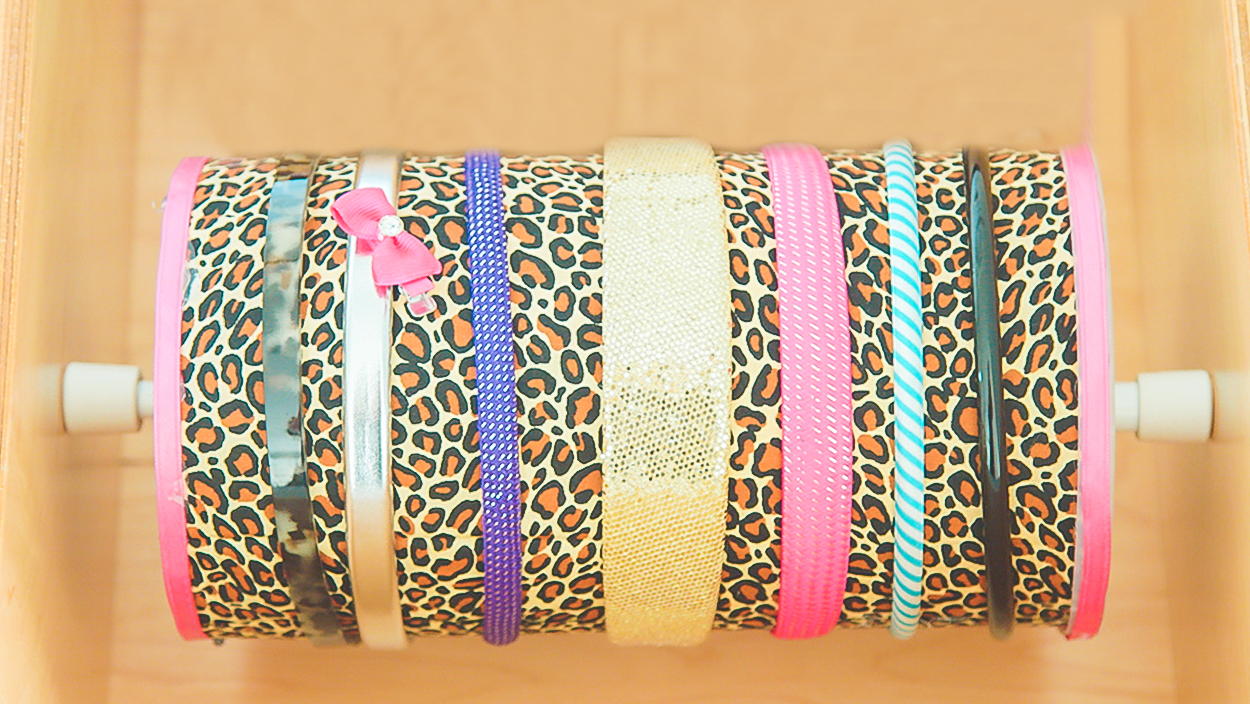
- For the headband drawer, Brooke made a beautiful DIY headband holder using an oatmeal container and pressure rods which she’ll show you how to make it. How awesome does this look?
- For under the drawers we found these tall and thin containers that worked with the plumbing and then Kathryn recommended these magazine file holders. They’re so inexpensive and great for little items.
5. Decant and arrange
- So this is putting everything in. Kathryn does not like packaging! So we had band-aids, the kids’ diapers, the little cups that they use and unpackaged them. It looks amazing.
- A hairdryer fits perfectly into the magazine holder. We made sure everything like the bows had their place, and then, of course, the headbands.
- Most importantly, Presley is so happy with it. It helps her get dressed in the morning and she’s determined to keep it clean. Even Tess was impressed with the difference.
Huge thank you to Kathryn for yet again turning my space around. Be sure to check out her channel!


