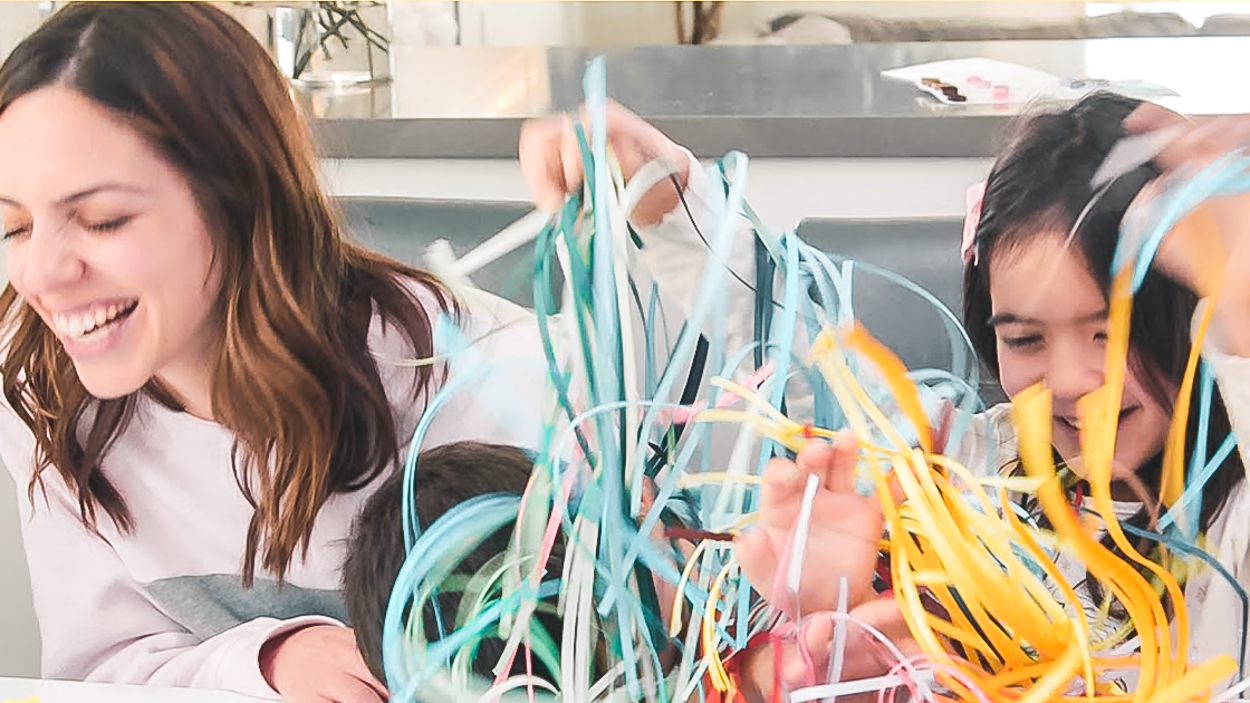
This week we tried: quilling! Quilling is the art of rolling paper to make designs. I had admittedly never heard of it up, but now it’s now one of our favorite crafts activities, perfect for wall-worthy art and special cards. Here are some tips to get your kids started.
WHAT YOU’LL NEED
- Quilling kit: You can do a homemade version cutting old scrapbook or construction paper into thin strips and then rolling that with a thin toothpick or paintbrush. But we opted to buy a “Quilling kit“. For about 15 bucks, it comes with a ton of pre-cut paper and some fun tools. For younger kids it actually helps to use a plastic quilling “coach” (yes that exists too, I can’t make this stuff up).
- Tacky Glue
- Cardstock
QUICK RECAP
Choose a color strip and wrap that tightly around your quilling tool. Once that’s done you take off the coil and allow it to expand to your desired size and shape it with your fingers or you can use a tweezer tool. Circles and teardrops are the easiest to start with; squares and hearts are a little more advanced. Add a dab of tacky glue to secure the shape and then stick that to your paper.
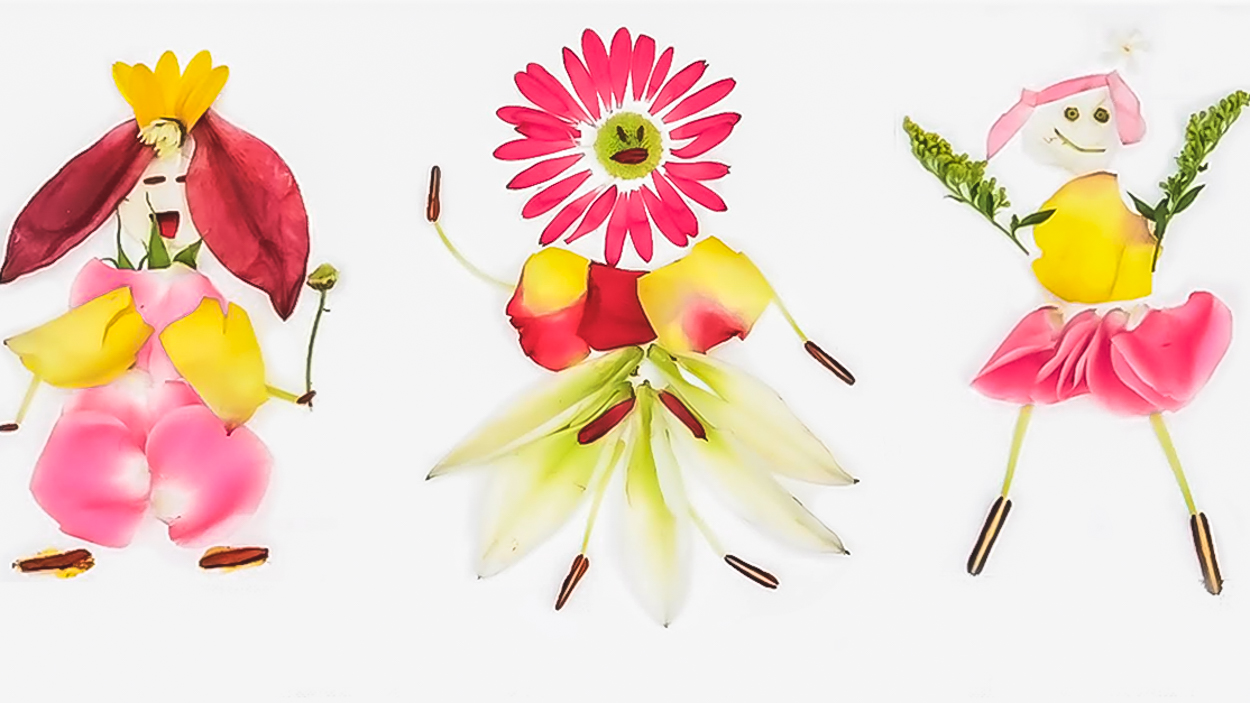
My 6-year old daughter made gorgeous flowers. My 4-year-old boy needed my help, but then got surprisingly into it, making turtles, spiders and even rain drops. Warning: It’s therapeutic (maybe even addictive) for moms!