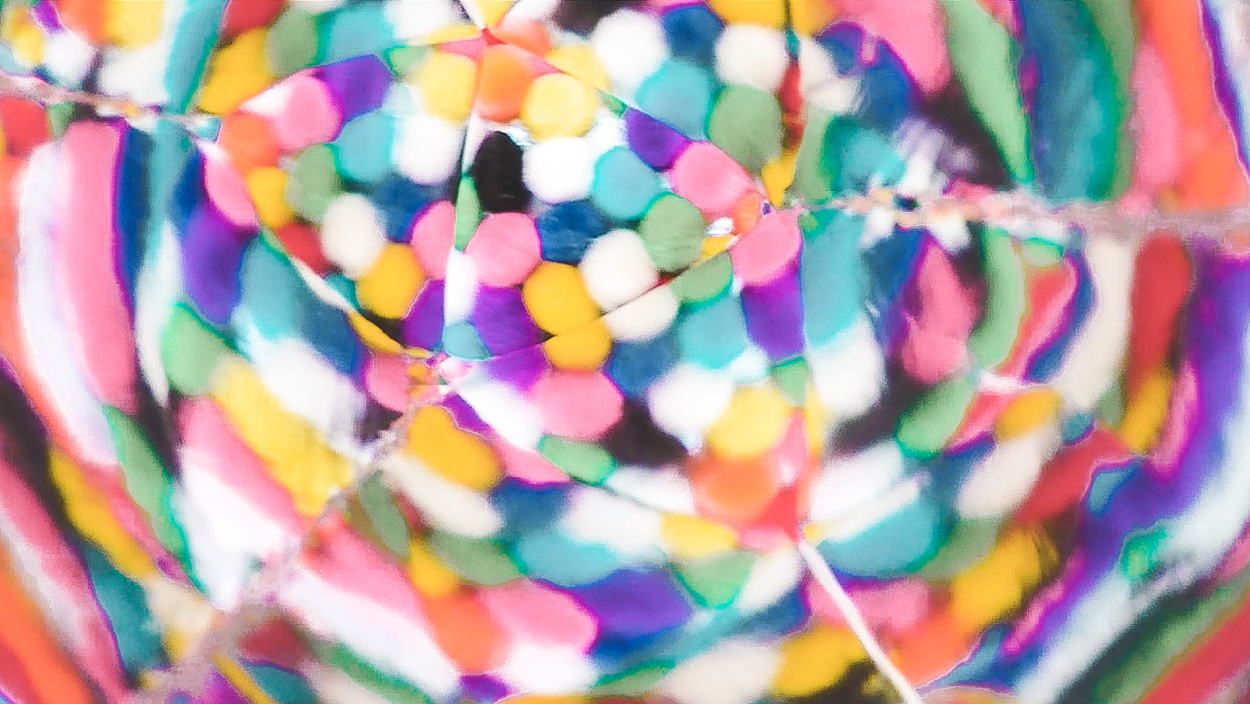
Save your empty toilet paper rolls, and prepare to be mesmerized. We’ll show you how to make a real kaleidoscope. These are the perfect addition to play time, and are sure to inspire wonder and awe from your little ones.
SUPPLIES
- Empty cardboard roll
- Clear plastic (to-go containers work great)
- Mylar sheets
- Tape
- Scrapbook paper
- Washi Tape
- Beads or confetti
- Hot glue gun
INSTRUCTIONS
- Cover the cardboard roll with the scrapbook paper to dress it up. You can also use fabric or wrapping paper.
- If you’re using an empty toilet paper roll cut the mylar sheet in to 4×6.
- Make two folds to create a triangle and secure it with a piece of tape and slide the triangle into the cardboard tube.
- To create the endcap, take the piece of plastic and trace two circles on it using the circumference of the cardboard tube.
- Cut the plastic along the inside of your tracing. You may need to trim down the first one a little more. Pop the plastic circle into the kaleidoscope making sure it lays flat.
- Use a second cardboard tube to create the rotating mechanism. Cut off a piece about an inch wide and make a second cut down the middle. Fold it over about ½ inch and secure with a piece of tape. It should fit securely in the end while still being able to rotate.
- Take the second plastic circle and place it on top of the end cap and secure it with tape. Finish it off with washi tape to give it a cleaner look.
- Add the beads into the end cap and attach it back to the base and you have a fully functioning kaleidoscope!