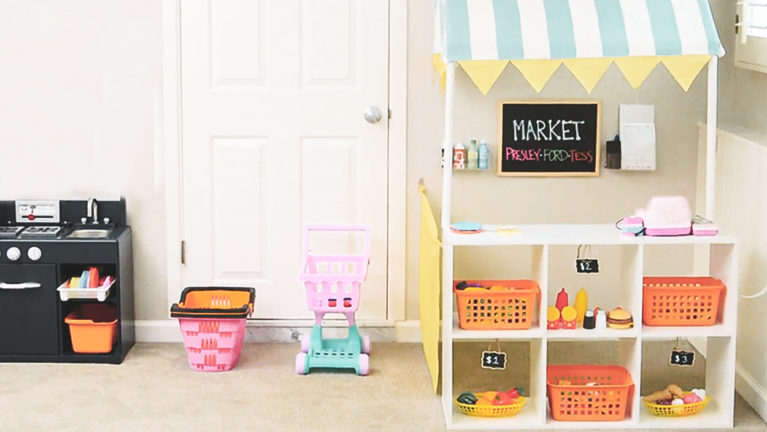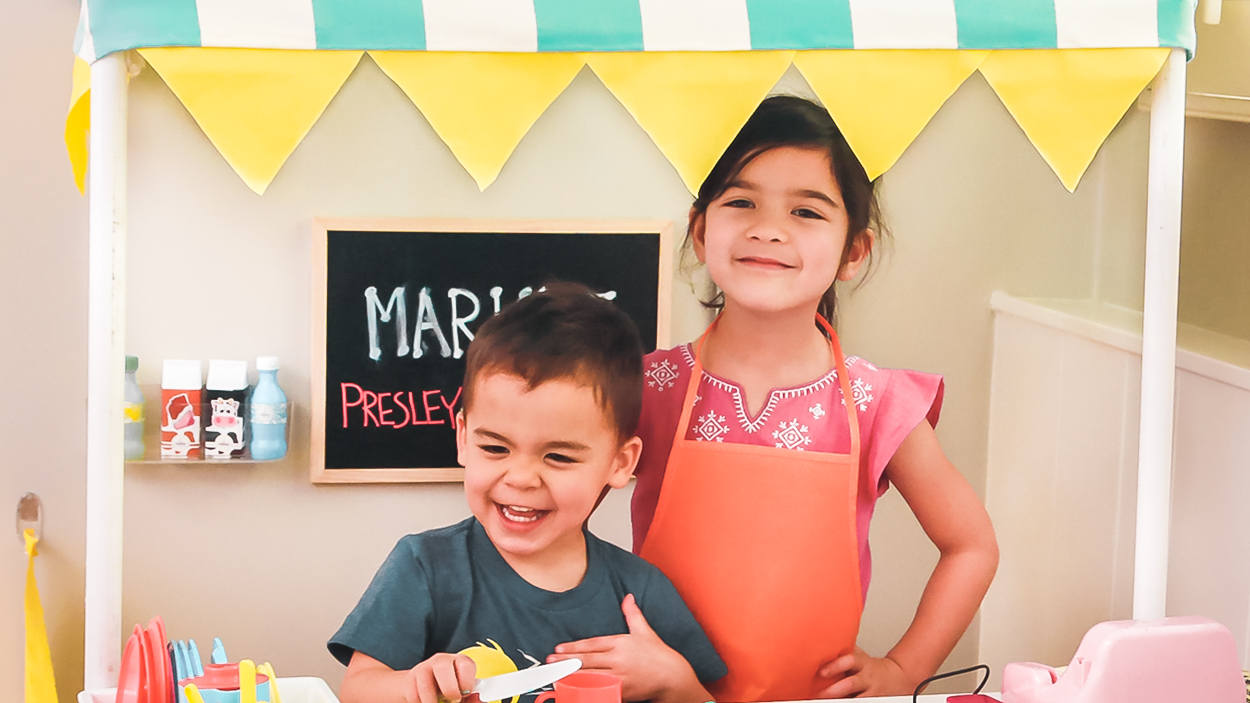

Drum roll, please… introducing the market of every kids’ dream! With this market stand tutorial, the imaginative play ideas are endless. Now, if only “grown-up” grocery shopping was this fun…
SUPPLIES
- PVC Pipe – we used four 5’ rods of ¾” PVC pipe
- 2 (smooth/non-threaded) T Connectors
- 2 (smooth/non-threaded) 90° Elbow Connector
- 2 (smooth/non-threaded) 45° Elbow Connectors
- PVC pipe cutter
- Hot Glue Gun
- Fabric (approx 2 yards x 48”)
- Command hooks
- Cubbyhole shelf
INSTRUCTIONS
- Measure the surface of your market stand table so you can determine the length of the crossbars.
- Take that number and subtract 4 and cut two pieces of PVC pipe to this length. (We made 2 32” rods)
- Next, determine how high you want your awning to be and cut 2 pieces of PVC pipe at this length. These will be the awning legs. (We made 2 24” rods)
- Cut 2 3” pieces of pipe that you’ll use to connect the legs to the side.
- Take 1 leg and attach it to your 45 elbow connector, add your 3” piece of pipe and finish it off with the T connector.
- Repeat the same steps for the other side and then add your crossbar in the middle.
- To make sides, determine your length by putting the base in its final position and then hold a piece of PVC up to the wall and take that measurement. (We made 2 35” rods)
- Add a 90 elbow connector on each end and then place your last crossbar in the middle.
- The frame is complete and now it’s time to add the fabric!
- Cut your material to the size of the frame leaving 3-4 inches around all the edges and then glue it directly onto the PVC pipe.
- Attach the awning onto the wall using these command hooks.
- OPTIONAL: Add cute trim by cutting triangles out of yellow fabric and attaching it to the inside with double stick tape.
- Finish off with fun accessories to make it look like a store – baskets, food, mini cash register, and even a sign.


