Heads up to anyone who’s coming over for a playdate: If I ask you to grab the kids a snack from my pantry, I am 100% showing off. Please stay away from the bathroom cabinet, though. The pantry of your dreams awaits in just 4 easy steps! (Isn’t if funny how your dreams change when you’re a mom?)
WHAT YOU’LL NEED
1. Clean it out.
- First, I cleaned out my pantry. This is both the easiest and the hardest step. It’s super fast to take stuff out and toss expired items. But it’s very overwhelming to see things disorganized. This process is greatly helped with the right music!
- Next, I quickly cleaned the shelves. If you have shelves that slide, lucky you, you may want to line them with something so things don’t slip around. Since mine are stationary I skipped this step because I wanted anything like baskets or containers I put in there to slide out really easily.
2. Assemble supplies.
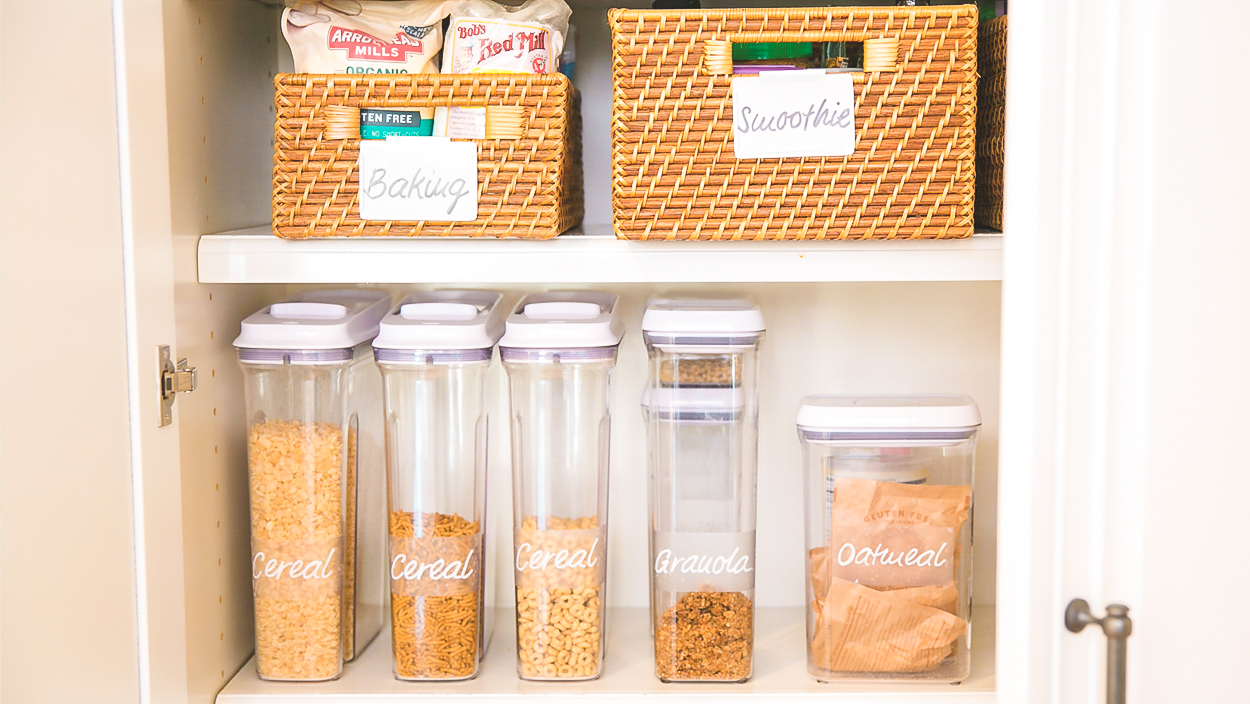
- I opted for woven baskets, plastic airtight containers, and some lazy susans. For the baskets, I didn’t want anything clear because I felt like that was going to start to get messy really quickly. I love the rattan ones linked above because the kids can just grab them and look through snacks and I can have things like smoothie ingredients all in one place. If you’re going to put liquid items like honey in these I recommend putting down a Tupperware container first.
- In terms of the OXO containers I love that these are airtight and also come in a variety of sizes. They are admittedly a little bit pricey but I honestly had to throw out so much stuff that had gone stale, so I kind of think they’re worth it. Cut off and tape any instructions you want to save to the back of the containers. And you can use a chalk pen for expiration dates. Next, I removed snacks from their packaging when it made sense. I wanted as much as possible for it to be visible and accessible. One big change I made was moving duplicates to my basement. I already had a utility cart down there and this helped me reduce clutter.
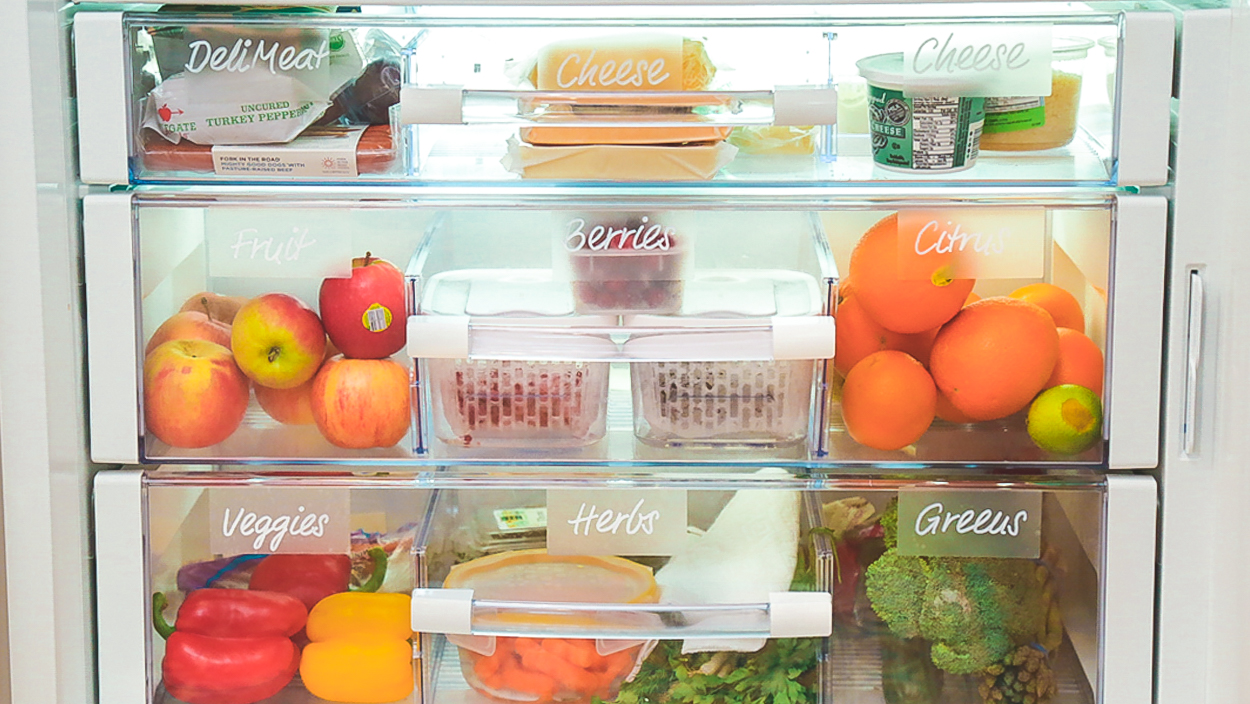
3. Labeling
- I went all out here. I printed the labels in What’s Up Moms signature font and traced over them with a white paint pen on shipping labels for anything going on clear containers. I used a black paint pen for the basket clip labels.
- For items that you always have in your pantry like flour or sugar, you can get specific but general categories like crackers or sweets are also great. Not only is this the key to making your pantry look it’s been pinned a million times, but it’s also the only way to make sure stuff ends up in the right place.
4. Arrange
- I keep my baking supplies up high because sadly that’s become a weekend-only activity.
- I placed snacks are at kid height so the kids can always help themselves. I did move pasta to a cabinet by the stove which opened up a ton of space. My personal favorite section is the cereal because it looks so cool!
It’s really easy to keep up with the organization here because everything has its own spot, and the things that do tend to get cluttered stay nice and tidy in a basket. Hope this episode provides you guys with a little inspiration!